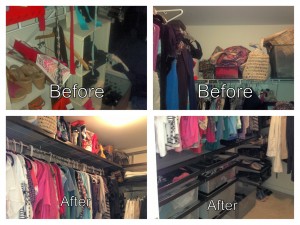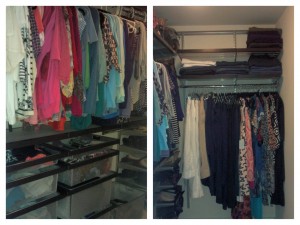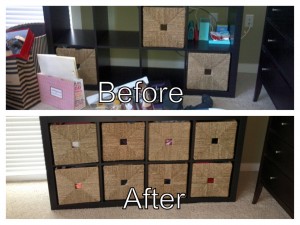
Recently, we completed a closet organizing project for a client, which included an Elfa-designed custom closet installation. The end result provided an excellent organizational structure, a significant increase in visual appeal, and overall better utilization of the space. We highly recommend that clients consider a custom design when conducting a closet overhaul. The option ensures that you’ll have specially designated space for all of your belongings and tends to encourage long-term organization. If you are considering a custom closet sometime in the future, we have put together the basic steps of how to go about the process.
HOW TO DESIGN, INSTALL, & UTILIZE A CUSTOM CLOSET
1) Review the contents of your closet and dresser. Determine how much will stay, add in to the new closet space, and how much you’d like to purge.
2) Take measurements of all walls, angles, and dimensions in your closet. Get an accurate count of shoes, handbags, scarves, ties and belts.
3) Work with a closet design expert at The Container Store, California Closets, Home Depot, or other company and decide on a design that works for your individual needs.
 4) Prior to installation, conduct a major closet purge and donate all items that you no longer wear, like, or do not fit. Don’t forget to purge your dresser drawers at this time too.
5) The day of installation, ready the closet by removing all clothing and other belongings.
6) During the install, prepare your clothing and other belongings for reintegration – rehang clothes if switching hanger styles and wash anything that hasn’t been touched in a while.
7) Following the install, add clothing back into the closet, keeping in mind that this is your best chance to implement a new organizational strategy such as by color, style, frequency of use, or post-wash folding vs. hanging preference.
 8) Enjoy your new closet and work hard to maintain the organization!
If you have any questions or would like to have us consult on your closet, please feel free to get in touch.
TWOW

